Docker and Airflow: A Comprehensive Setup Guide
Introduction
Docker and Airflow are like peanut butter and jelly for data engineers; they just work perfectly together. Docker simplifies deployment by wrapping your applications in containers, ensuring consistency across environments. It’s like having a genie that makes sure your software behaves the same, no matter where you deploy it. On the flip side, Airflow is the maestro of orchestrating complex workflows, making it a go-to tool for managing data pipelines in various organizations.
Let’s Get Docker Rolling
First things first, we’ll lay our foundation with Docker. Begin by grabbing Docker Desktop from Docker’s official website. Choose the version compatible with your operating system, and you’re off to the races.
Here’s the gear we’ll need for our setup:
- docker-compose.yaml : Think of this as the blueprint for how your Docker containers will play nicely together.
- dockerfile-airflow : This defines how we build one of the Docker containers, and we will use it as a blueprint for all the building of the systems in our ecosystem.
- .dockerignore : It’s like telling Docker, “Please ignore these files.” This step keeps our build clean and conflict-free.
- requirements.txt: A simple pip requirements file. While Airflow can run Python commands, we recommend keeping it lean. You can always use Kubernetes Operators to manage heavier workloads.
Note: Regarding the requirements.txt While you can install Python packages directly onto Airflow workers, it’s not the best practice. Keep Airflow light and use Kubernetes Operators for the heavy lifting or to deploy specific Docker images as needed.
Clone the Repository and in your terminal, navigate to the new directory.
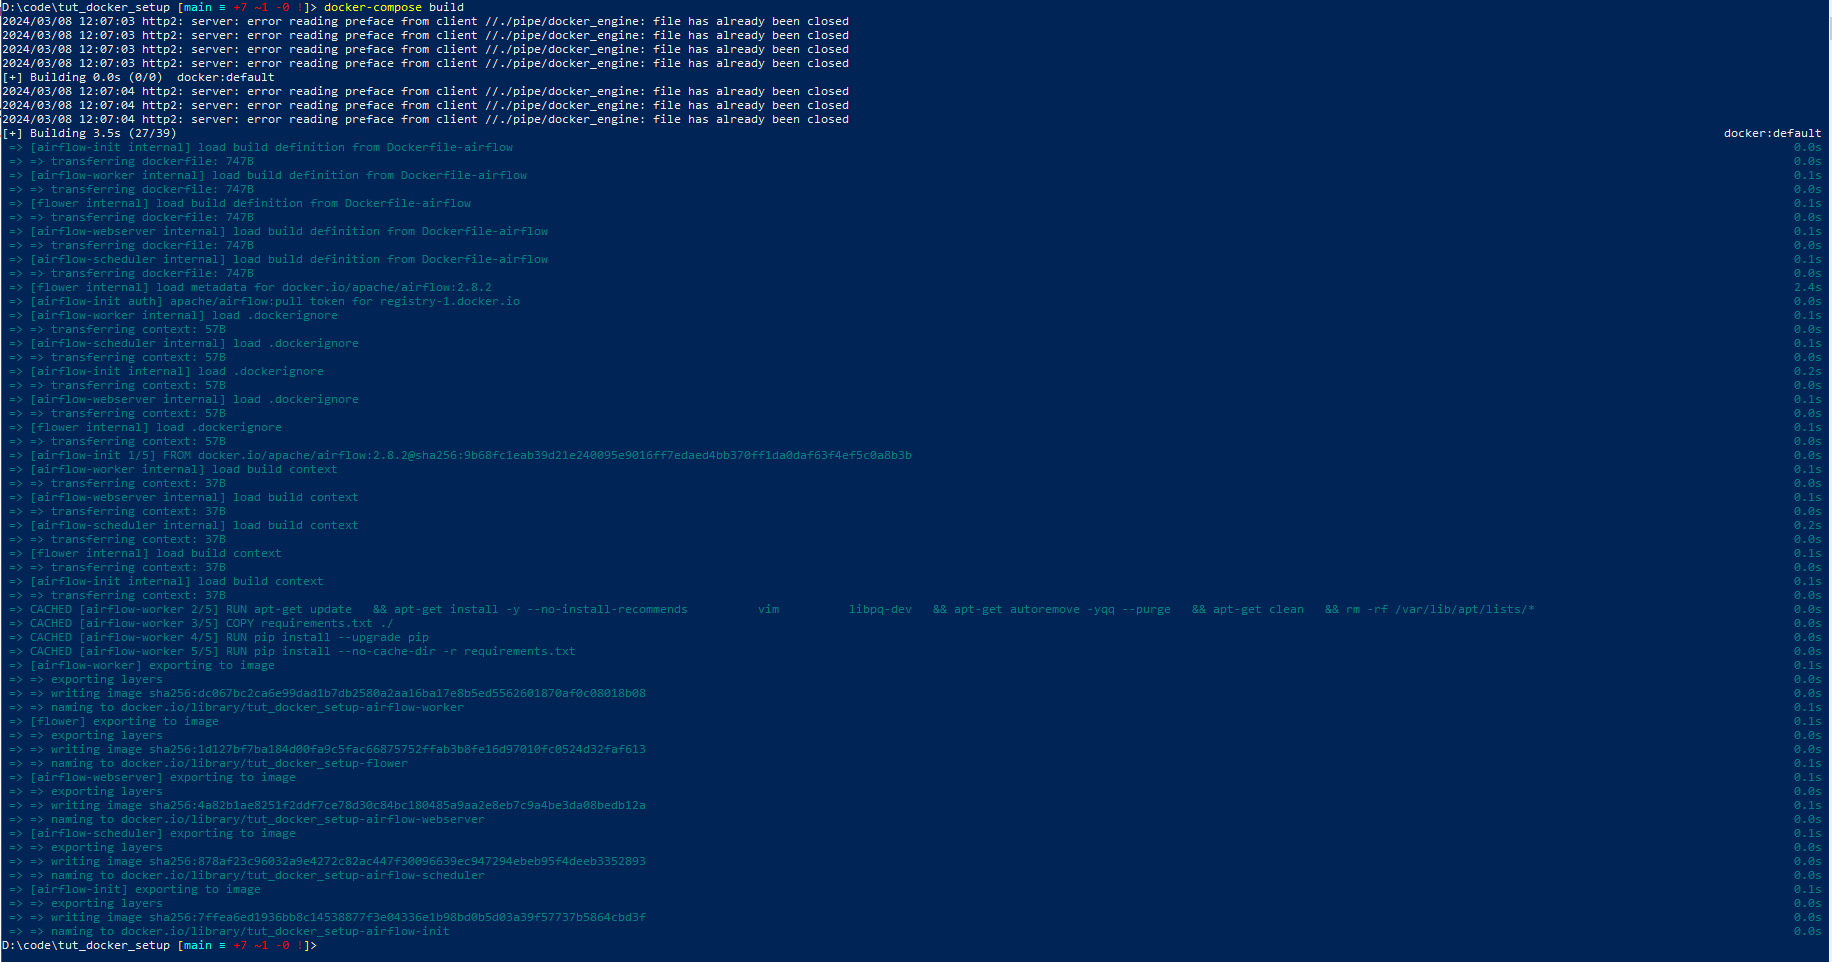
Run docker-compose build

Next up:
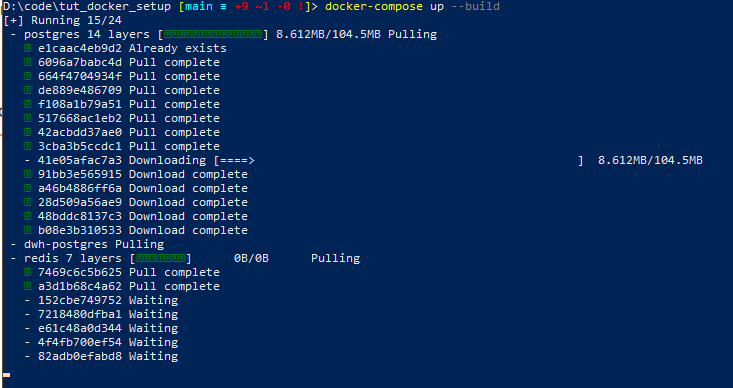
Run docker-compose up --build

This spins up your ecosystem and pulls the necessary images to get started.
Airflow Setup
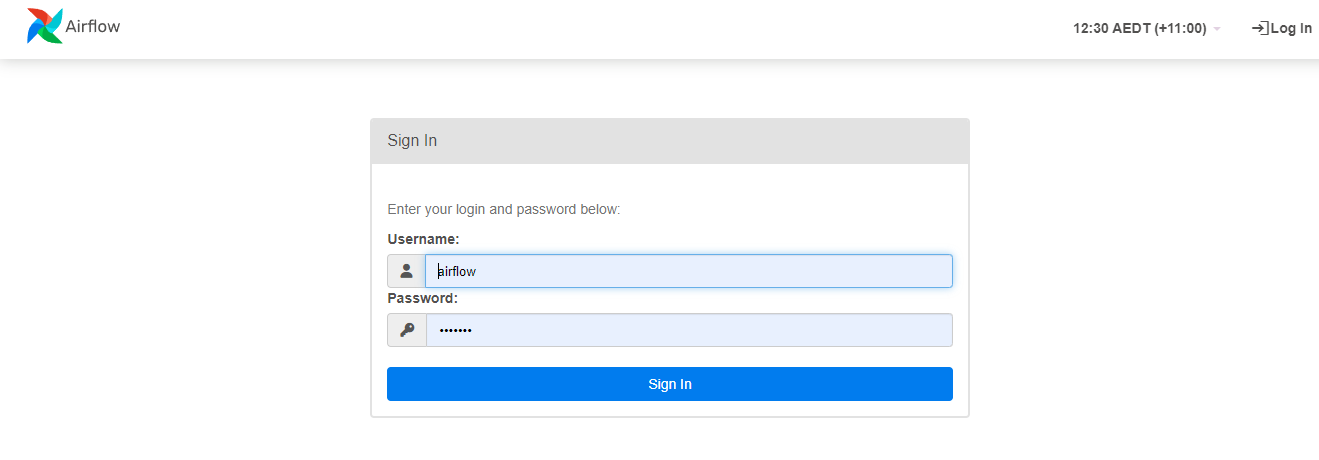
To access Airflow, hit up localhost:8080 on your web browser. You’ll be met with a login screen—both the username and password are ‘airflow’. Once in, you’ll see Airflow’s interface, ready for action.


There’s a “Hello World” DAG pre-loaded for you to experiment with. This is just the beginning of your journey with Airflow.
Running the “Hello World” DAG
To get your hands dirty with Airflow, let’s run the “Hello World” DAG. This simple task is a great way to familiarize yourself with how Airflow orchestrates tasks.
- Find the DAG: On the main dashboard. Locate the “Hello World” DAG. It should be there, smiling back at you, ready for action.
- Trigger the DAG: Hover over the “Hello World” DAG row, and you’ll see a play button appear on the right side. Click this button to trigger the DAG manually. Alternatively, if the DAG is scheduled to run automatically, you can wait for its next run.
- Monitor the DAG’s Progress: After triggering the DAG, click on its name to open the DAG details page. Here, you can see the DAG’s tasks, their status (such as running, success, or failed), and other useful information.
Checking the Logs for the “Hello World” Output
Seeing what your DAG is doing under the hood is crucial for debugging and understanding its behavior. Here’s how to check the logs for the “Hello World” task:
- Go to the DAG’s Graph View: From the DAG details page, navigate to the “Graph View” tab. This view shows all the tasks in your DAG and their dependencies.
- Find the Task Instance: Locate the “Hello World” task in the graph. It should be a clickable node.
- Access Task Logs: Click on the “Hello World” task node, and a small window will pop up with several options. Click on the “Log” button to open the task’s logs.
- Review the Output: The log window will display the task’s output, including any “Hello World” messages it printed. Here, you can see everything the task did, any errors it encountered, and the famous “Hello World” output you’re looking for.
PostgreSQL: Data Warehouse
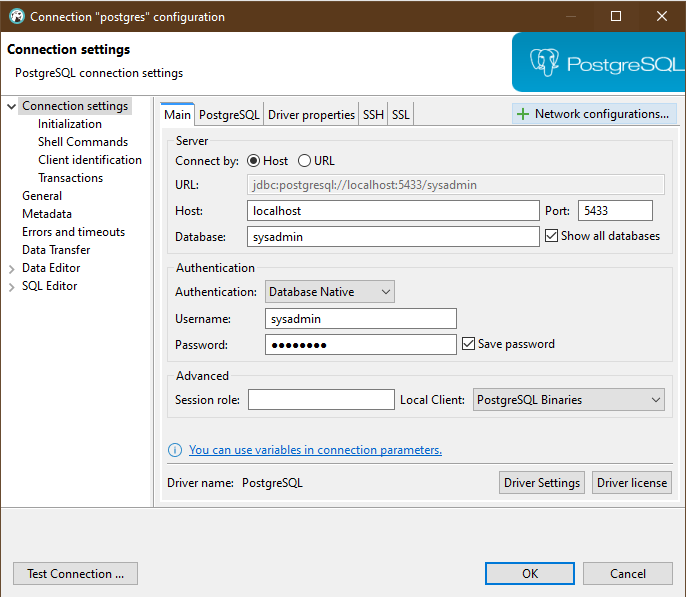
With Airflow humming along, it’s time to peek at our data warehouse setup. You can connect to our databases using DBeaver or a similar tool.

You’ll find databases set up for different stages of data processing:
- dwh_01_landing
- dwh_02_staging
- dwh_03_integration
- dwh_04_presentation
We’ll delve into how we can move and transform data within these databases using dbt and Airflow in future posts.
Conclusion
That’s a wrap on our Docker and Airflow setup guide! We’ve laid the groundwork for you to start tinkering with data pipelines and transformation processes. Stay tuned for more on leveraging these powerful tools to streamline your data engineering projects.
